Monday, December 31, 2012

Waiting to Ring in the New Year?

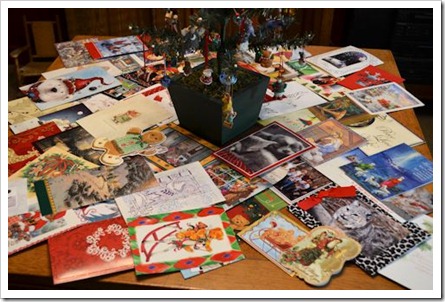
Every year about this time I look at the Christmas cards we’ve received and I think there must be something useful to do with all the lovely images.

wtritny_1

At some point while perusing Pinterest over the past few months, I pinned this idea from another blog. So ingenious!

wtritny_1a

I told myself if I could just remember to do this after Christmas, I could preserve some of those lovely images and colors from our Christmas cards for a little while – maybe even a long while.

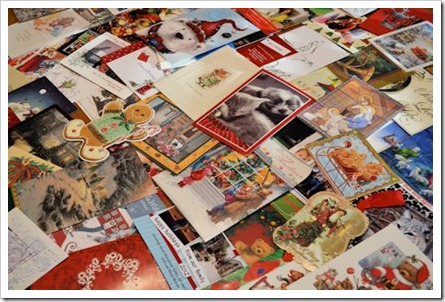
So, while awaiting the New Year, I gathered all my cards and sorted through them.

wtritny_2

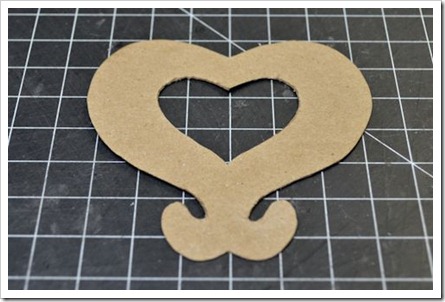
I created my own template. It’s not a house shape like hers but I might try that next. I still have lots of cards to play with.

wtritny_3

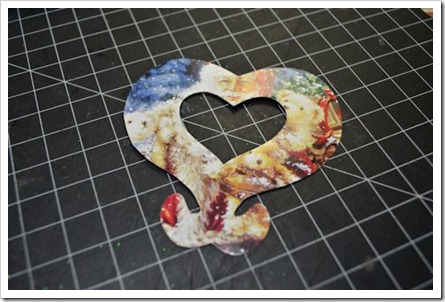
I traced and cut the first of twelve.

wtritny_4

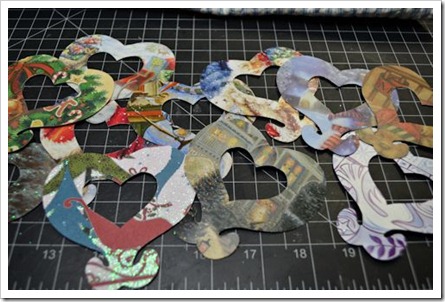
When I had all twelve cut out,

wtritny_5

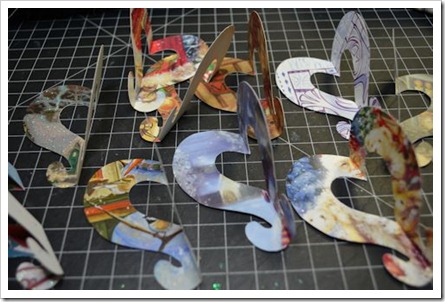
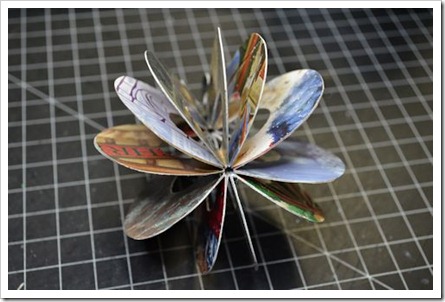
I scored them right down the middle and folded them.

wtritny_6

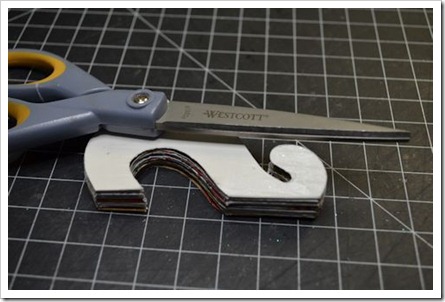
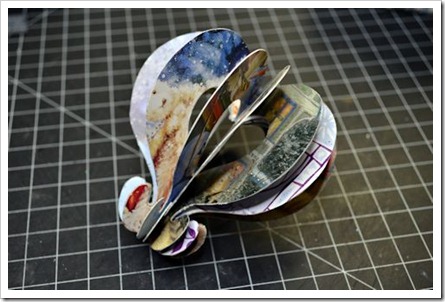
Then I matched and glued them together. (Well, perhaps I took a short cut from the instructions and used my Xyron machine, but really, that’s neither here nor there is it?)

wtritny_7

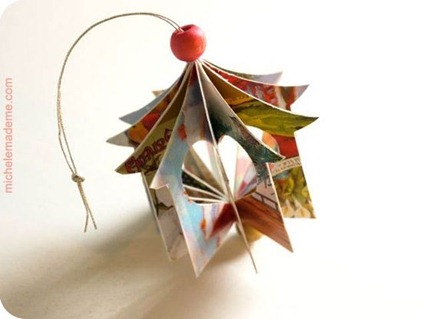
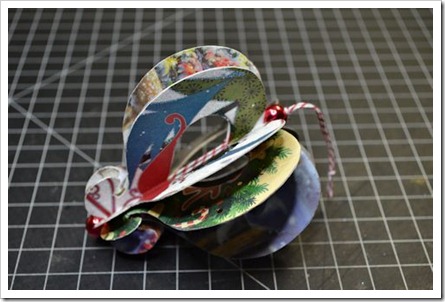
When I finished, I had this lovely (better than I expected) ornament looking object.

wtritny_8wtritny_9

I used two shiny beads and some baker’s twine to finish it off with a hanger.

wtritny_10

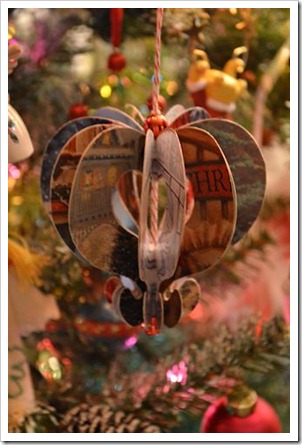
Finally, I tried it out on my tree and decided that I hadn’t wasted my time after all.

wtritny_11

Now as I watch and wait for the ball to drop way up in Times Square so I can say a personal hello to 2013, I might be making a couple more of these – maybe even in another shape.

Happy New Year, everyone!

signature

Thursday, December 27, 2012

Someone’s Christmas

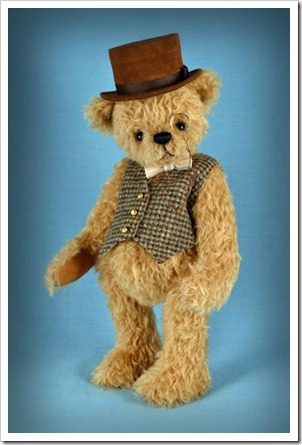
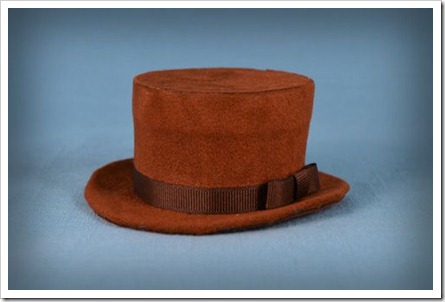
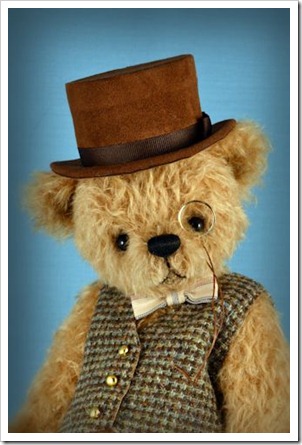
Sometimes a special request brings its own challenge. In this case, while the clothing was a bit of a change from my usual, it was the top hat that took me down a different path.

sc_1

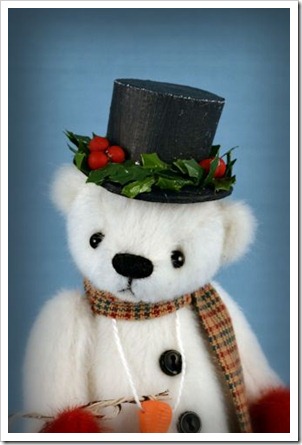
I have made top hats before although I made them using a different method. While most of earlier ones were for larger bears, the last one I made was for Frosty, a small 5” bear seen below. I liked the process I used and the ability to give the brim a slight curve. That was what I wanted for this twelve inch bear’s hat.

sc_2

I chose to use Ultrasuede© for a stylish and upscale twist. And even though I knew Ultrasuede© could be fussy to work with, I have a greater appreciation for its tricky and sensitive nature.

sc_3

In the middle of the process I was beginning to question my sanity, but then it has always been in question. By the end, I was actually trying to figure out if I could remember what I had done so I could replicate it in the future.

sc_4

This was someone’s Christmas gift. Speaking of Christmas, I hope yours was terrific! I still have a bit of Christmas spirit and even though I am currently working on a few bears, I am dabbling in a few other holiday-ish things as well. Holy Smokes Batman! The New Year is nearly upon us!

signature

Monday, December 24, 2012

Another Tree? Really?

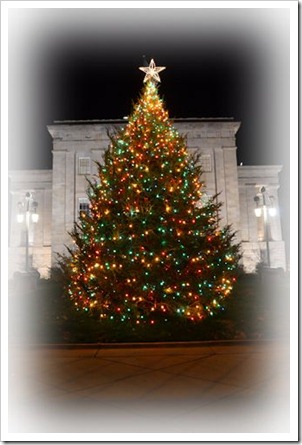
Stick with me. I know this is similar to last year’s photo, but here is a photo of our 2012 state Christmas tree on the capitol grounds.

atr_1

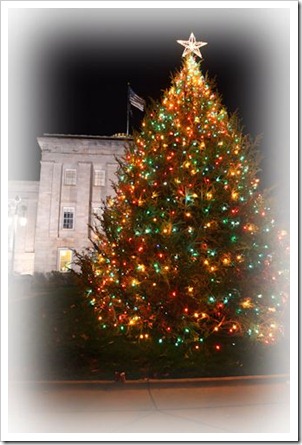
Here’s another picture with some visitors in the lower left. Can you see them?

atr_2

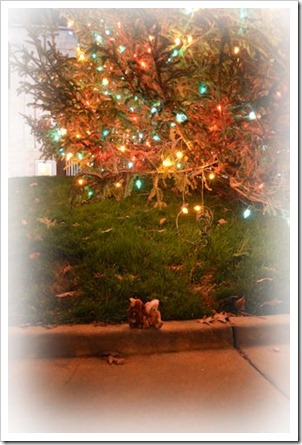
How about now?

atr_3

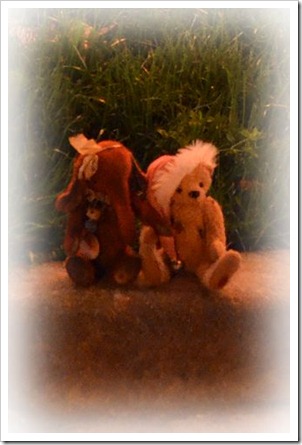
Yep, that’s Katie and Sebastian.

atr_4

And here’s Sebastian sitting IN the state Christmas tree.

atr_5

(What is this thing he has about sitting in trees?) Apparently he wanted a nice location from which to say:

All of us at bearbits here in North Carolina wish you a very

atr_6

With love,

signatureatr_7sebastiansigns

Wednesday, December 19, 2012

Cookie Optimism (with Sebastian)

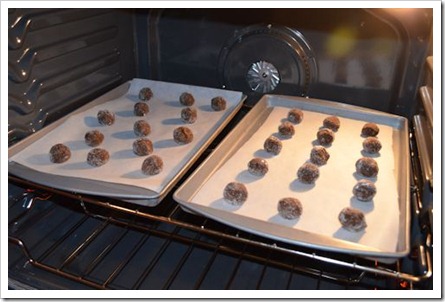
I don’t know how it is for you, but this time of year I always want to bake some homemade cookies. In the past, I have always said to myself, “when I get time” and then I never have the time.

This year we are doing Christmas a little bit differently and ta-dah – Time!

Not that I am a huge baker or anything close, but I do have a few fabulous tasting cookie recipes. Some classic, some new. Mostly passed along through friends – thank you friends!

A few days ago I was reading this blog

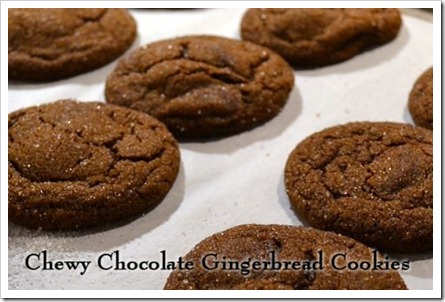
and there was a mention of these cookies

cows_0

and a link to this blog with the recipe.

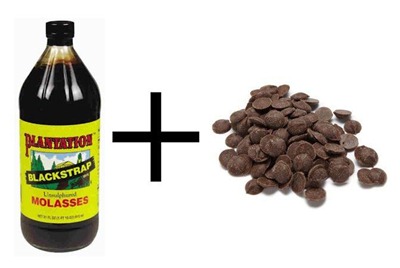
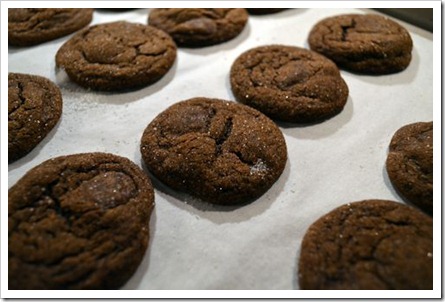
I might be a day late and a dollar short on this recipe but it’s new to me. The clincher for me was the molasses and the chocolate so I really wanted to give it a try. 

cows_0a

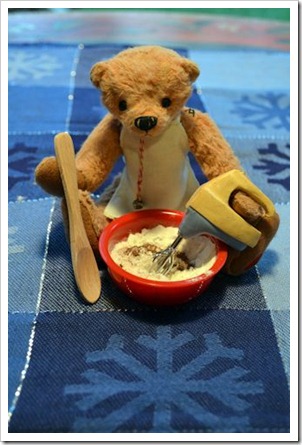
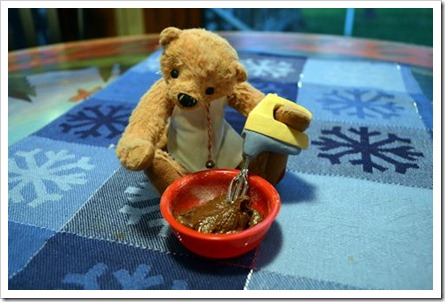
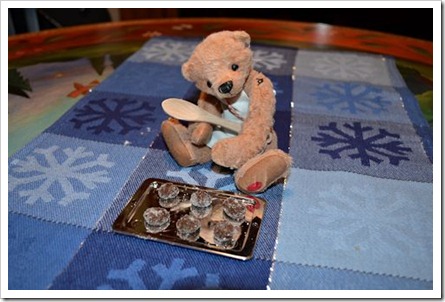
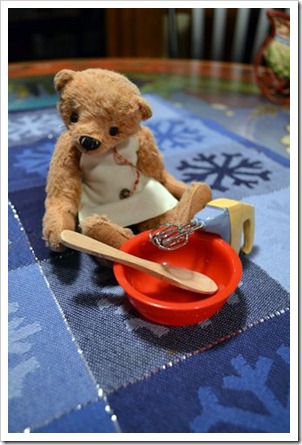
Sebastian donned his (new) apron and got out his bowl, spoon and mixer. I donned my (new) apron (Thanks sis!), got out my bowl, spoon and mixer.

cows_1

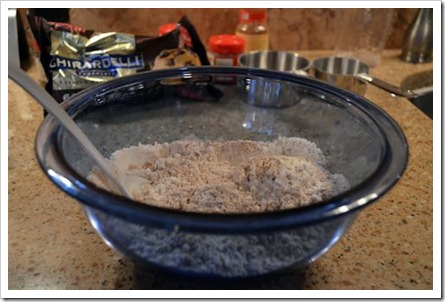
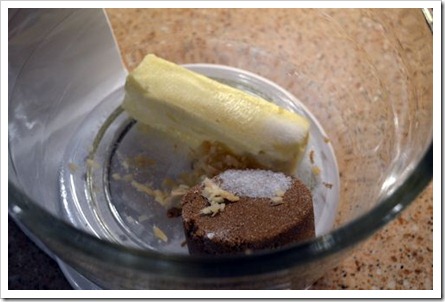
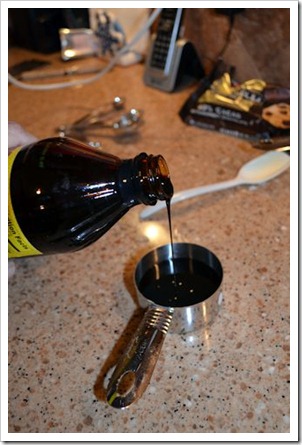
Together we followed the instructions to the letter. If I messed up the recipe, how would I ever know if it was the recipe or me? So I was very careful. Sebastian was very careful. We were both very careful.

cows_2

cows_3

cows_4

cows_5

cows_6

cows_7

cows_9

cows_10

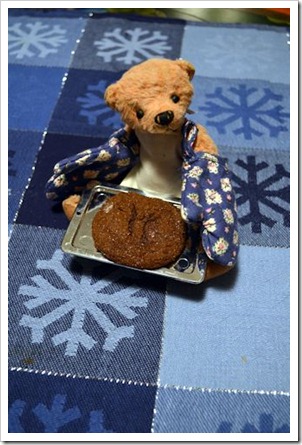
Isn’t this a stitch?!  His oven mitts go all the way up to his shoulders!

cows_8

Some people think these have too much of the spice flavor.  I don’t.  I like it.  In fact, if I make these again, I might use a darker, much darker chocolate and maybe less.  They are good right out of the oven but I could only eat one that way.  I like them better after they have cooled.  Sebastian thinks I am too conservative with my analysis.  He asked me, “Are they cookies?”  I answered, “Yes, they are.”  He replied, “Case closed!”  There you have an expert’s evaluation.

signature

Monday, December 17, 2012

Quick & Easy Folder for Cash Gift + Template

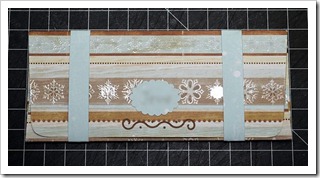
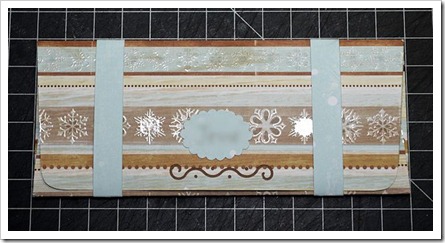
The elves are busy these days and sometimes they need help! I decided to make some nice folders for giving cash/money. It gave me an excuse to play with pretty paper.

q&effcgt_11

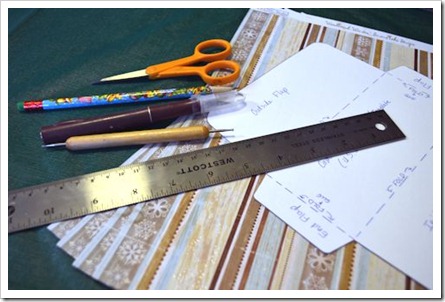
These were my basic tools. Add some double stick tape and you’re good to go.

q&effcgt_1

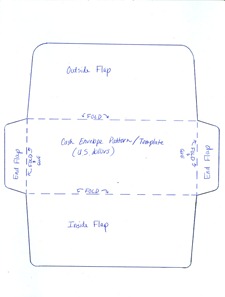
You’ll need the template I created, of course. You can find it here or click on the image below. It prints on an 8.5” X 11” piece of paper. I would say you could print directly on your paper except I’ve scribbled basic directions on it.

Money envelope template

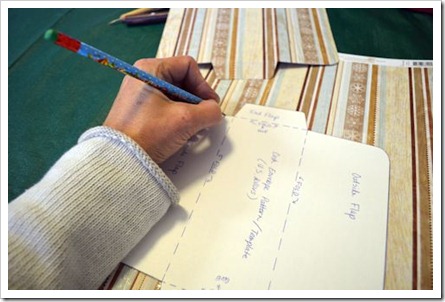
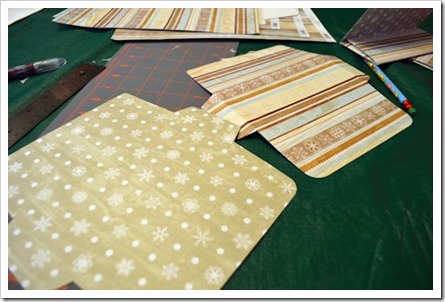
Trace the pattern onto your decorative paper and

q&effcgt_2

cut it out.

q&effcgt_3

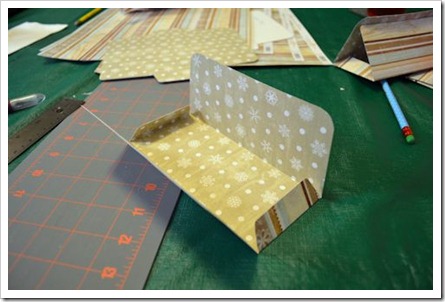
Score as indicated by the dotted lines and fold inward. The two short flaps are where you will tape or glue the ends to the inside flap.

q&effcgt_4

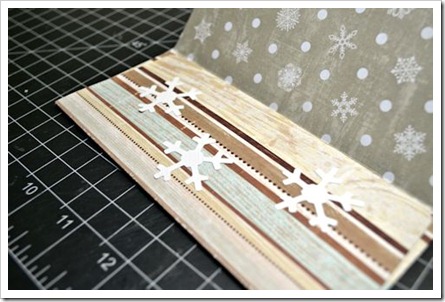
I decorated the inside of the folder with some die cut snowflake stickers.

q&effcgt_5

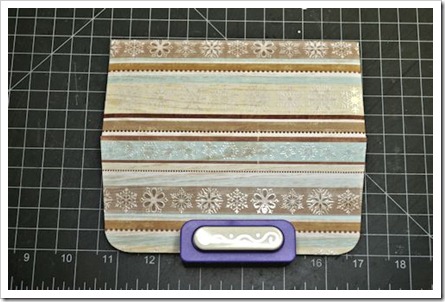
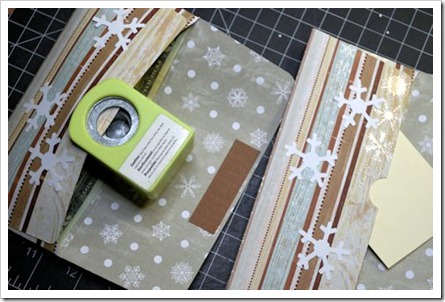
And in an effort to justify all the tools I’ve managed to accumulate over time, I decided to use this edge punch to make a swirly design on the front flap.

q&effcgt_6

I wanted to make some sort of notch where the money goes so I used a circle punch but only half of it. It seemed to work.

q&effcgt_7

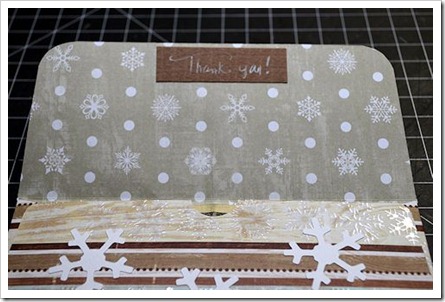
I added a strip of contrasting paper to the back of my swirly design so it would show up better and then wrote “Thank you!” on it. Of course, you can expand the area and write a short story or a poem or even a photo. Hey, that sounds like a good idea!

q&effcgt_8

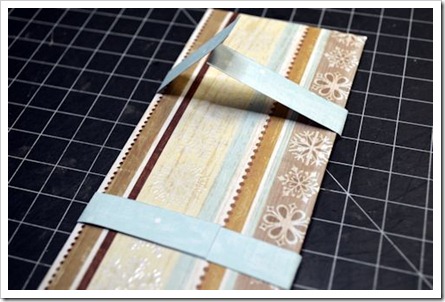
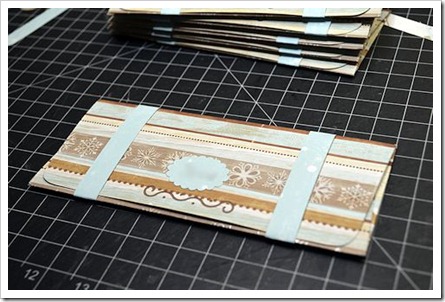
Rather than make an envelope for the folder, I chose to cut some strips out of coordinating paper for closures. They slide right off the ends.

q&effcgt_9

Above the swirly design, I added a punched oval from coordinating paper on which I could write the recipient’s name to personalize the folder.

q&effcgt_10

q&effcgt_11

At last the folders are all done;
a great way to have creative fun.
Gifting time has now begun.
Merry Christmas everyone!
signature

Related Posts Plugin for WordPress, Blogger...