Wednesday, April 20, 2016

Tobee’s Honey – Signature Gallery Piece Photos

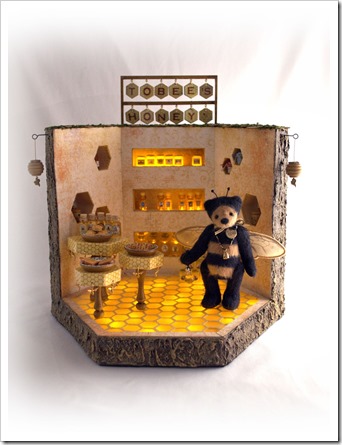
Here are the photos of Tobee’s Honey, my signature gallery piece for the Artist Doll and Teddy Bear Show & Sale in Philadelphia, May 1st.

This photo shows the piece with both sets of lights turned on.  They make the honey jars, bottles of honey and the floor glow a warm yellow.

th_sgpp_1

Meet Tobee.  He’s wearing a tiny beehive and carries a tiny bottle of honey.

th_sgpp_2

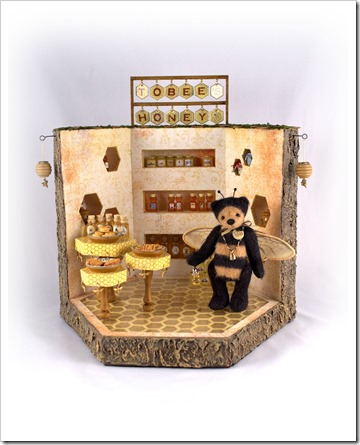
This is the piece without the lights on.

th_sgpp_3

A view of the middle panel with the sign on top.
Each letter in the sign is a torch fired enamel.

th_sgpp_4

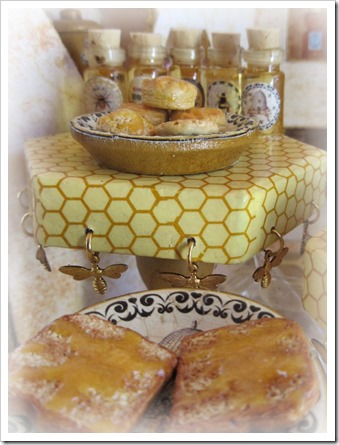
A view of the three sampling tables.
They all have the bee charms dangling from the edges.

th_sgpp_5

Jars and bottles of honey available for purchase from Tobee’s Honey.  A big variety from which to choose.  Remember all those tiny labels.  Here’s a few of them!

th_sgpp_6

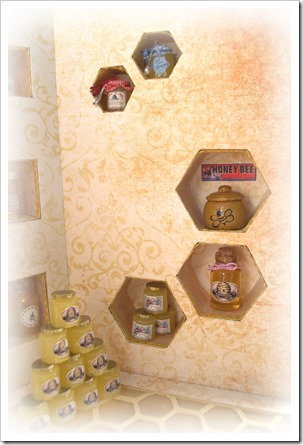
The honeycomb shaped shelves with even more honey.

th_sgpp_7

A close-up of the sign.

th_sgpp_8

I had such a great deal of fun creating this piece. I miss working on it already! I guess that means it’s time to start a new one!

Thank you for following along with the photos of the creation of this piece.  I hope you enjoyed it!

signature

Monday, April 18, 2016

Last Set of WIP Photos Before the Finale

This last set of WIP  photos show some of the details that I added to the interior of this honey bee piece.

I spent one entire evening making itty bitty honey jar labels.

I think there were over 200.  I like to have choices!  I have a lot leftover.

I needed a couple of plates for some tasting samples so I decided to customize some unfinished wooden ones I had on hand.  This shows the bottom painted at various stages.

I used the same technique for these wooden  honeycombs.  They will be additional signage.

I chose a bee design to decorate the front  of the plates.  Then I made decals of it and applied them. I had a lot of fun with it!

I think my most favorite part of this project is the food for the sampling plates.  My daughter custom made them for me.  (Check out  her etsy page!  PetiteFare)  There is toast, waffles and biscuits – all drizzled with honey!

a1-20160401_163631

The tables that hold the samples are created from paper mache box lids.  I didn’t photograph the process but I began by painting them  a warm yellow color – a couple of coats.  Then I created decals for the surface design.  (I really got into making decals!)

The bee charms hanging from the table edges are another fun feature.

Next time I will share photos of the finished piece.  Thank you for reading!

signature

Friday, April 15, 2016

Even More Signature Gallery Piece WIP Photos

It’s starting to look like something now.  Here’s the structure assembled.

Detail of one of the shelves with some painted Dresden trim.

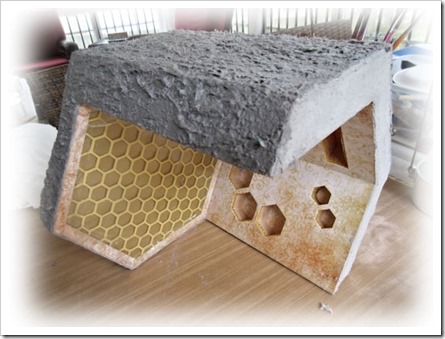
View from the top.  Stage one of a paper mache finish.

The hexagonal shape required adding the paper mache in multiple stages.

Painting the outside – first coat: dark brown.

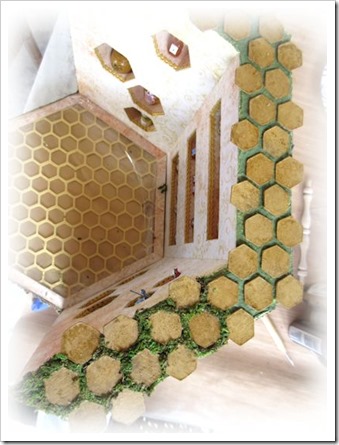
A honeycomb inspired roof design.

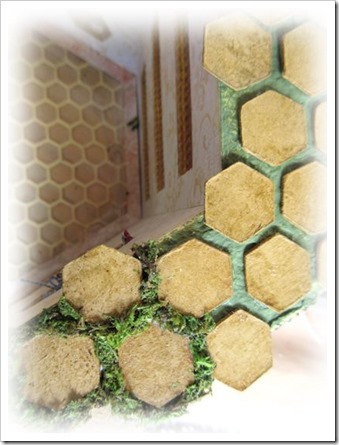
I added moss to finish it off.  I like this effect.

After this, it’s all interior detail work.  Photos to follow.

Thanks for reading!!

signature

Wednesday, April 13, 2016

More WIP Photos for my Signature Gallery Piece

Here are a few more progression photos of my gallery piece.

The photo below shows tentative construction of the three main shelves.  I temporarily assembled the structure so I could figure out where to place them.  Then I disassembled the piece so I could affix them permanently.  The black arrows point to holes that are crucial to the design I have in mind.

The other two sides will have octagonal shelves created from paper mache boxes.

This is the back of the piece showing where the batteries will be located.

I incorporated extra space below the main floor for lighting.

This is one layer of the floor – everything custom cut and created to size.

The floor has four layers: plexiglass, vellum, the chipboard/mat board honeycomb shape and another piece of plexiglass.  I had to fiddle around with different materials to figure out the best ones for the job.

Building the structure was most definitely the most challenging part of the piece.  The other parts were time consuming and thought provoking but they were familiar activities for me.

The next steps include tweaking the interior area and adding texture to the outside.
Stay tuned . . .

Thanks for dropping by!

signature

Monday, April 11, 2016

Signature Gallery Piece for Philadelphia Show WIP Photos

The Artist Doll & Teddy Bear Show in Philadelphia is right around the corner. I have been working these past few weeks on my one-of-a-kind signature piece for the main gallery. Over the next few days, I will post the work-in-progress photos that I have taken. After that I will post photos of the entire piece and detail shots. I hope you enjoy seeing how it all came together.

This was a first for me in that I didn’t begin with a box of any kind or a preformed shape that I would transform. I started with some mat board I had on hand. I believe I may have posted this photo in an earlier blog post. I think I almost broke my brain figuring out the dimensions. Squares and rectangles not usually a problem. This was an odd shape and so there were math formulas involved. For someone used to flying by the seat of my pants, it was quite a change from my usual method.

Once I had the basic shape sorted and cut, I temporarily pieced the base together. I knew where I was going but the order of assembly required two steps forward and one step back to get the infrastructure in place before final assembly. Little did I know that it would be like this for the whole project.

Here’s another view of the basic shape/box/form I was planning.

In this last photo, I was sorting out the size, shape and position of some inset shelves I wanted to include. The shelves had to have room for some items that I knew would be placed on them.

Stay tuned – more to come!

Thanks for reading!

signature

Related Posts Plugin for WordPress, Blogger...